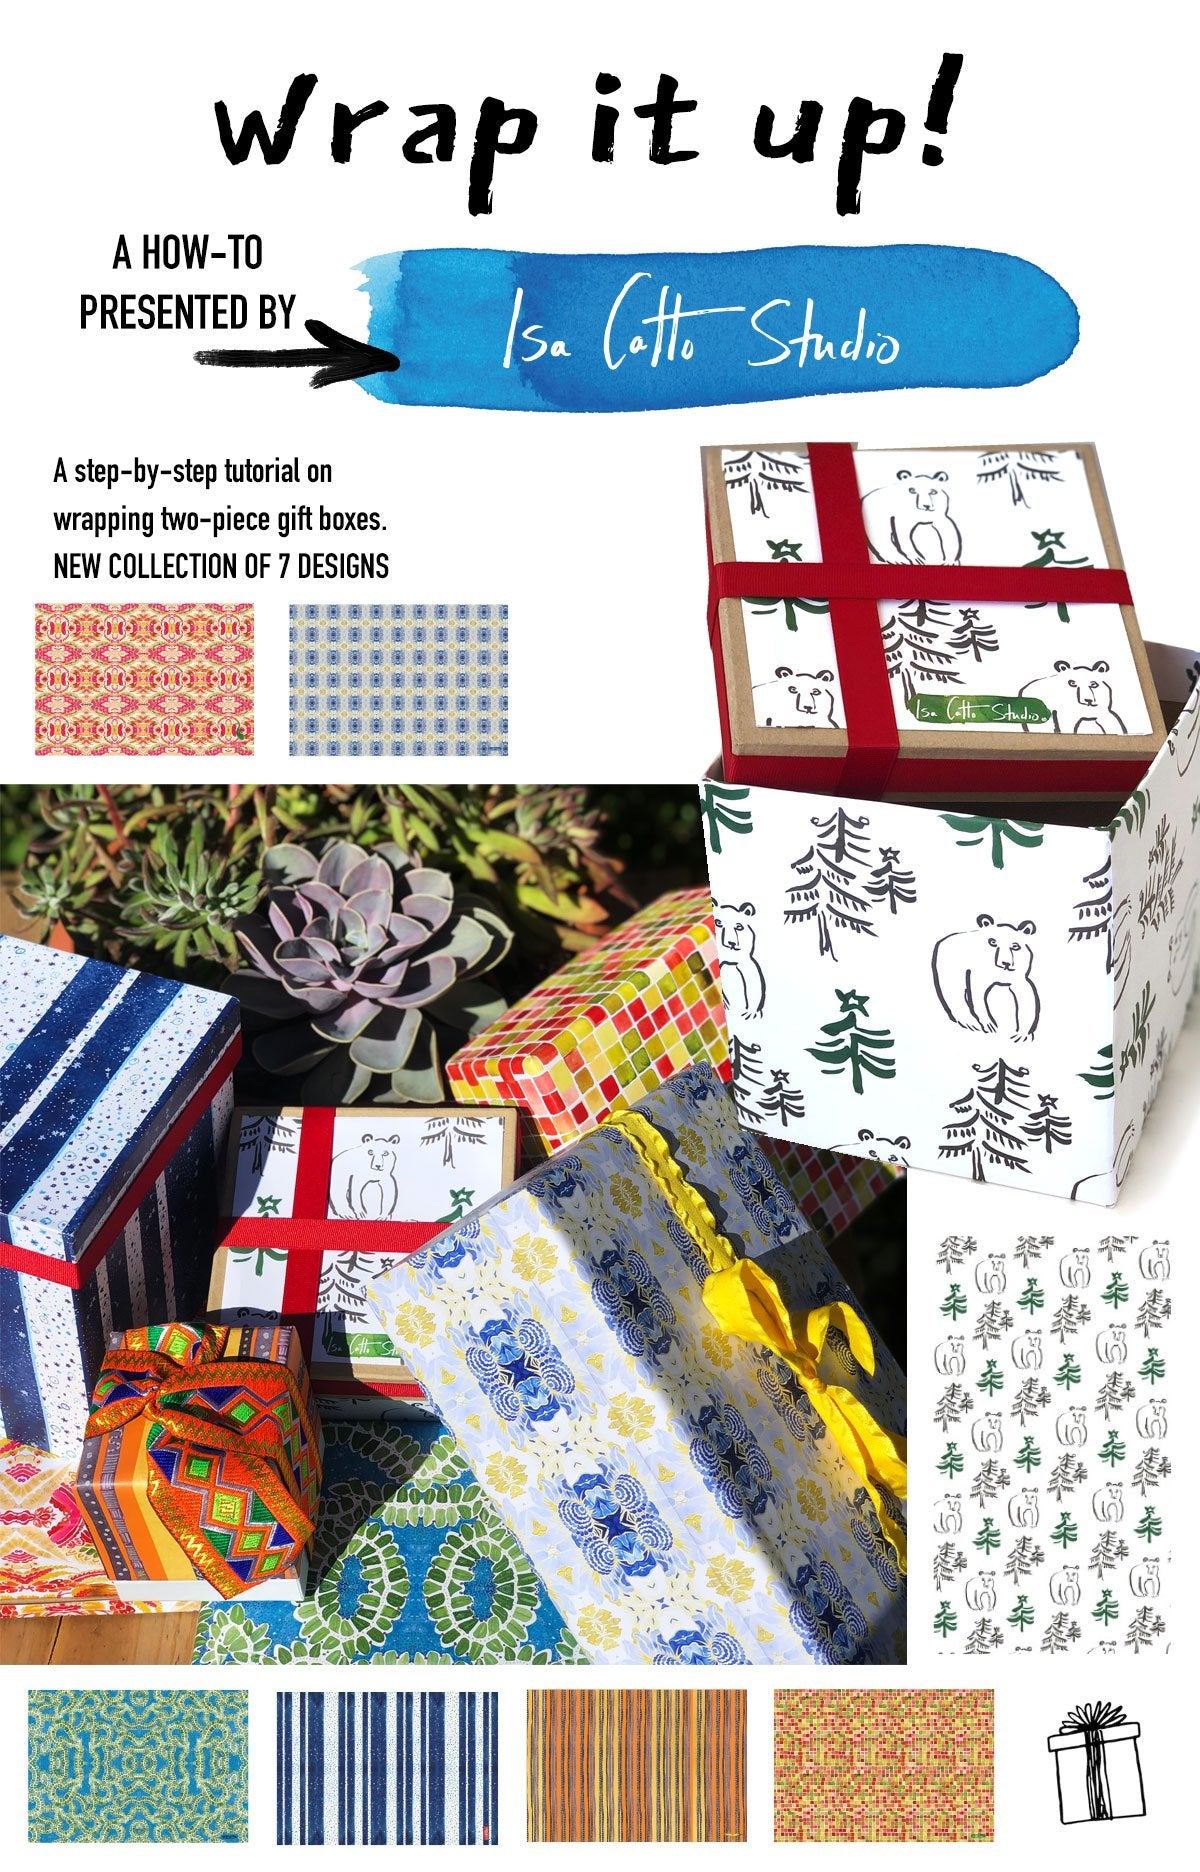
What is a telescoping box?
A telescoping box is simply a two-piece box-- there is a compartment to place your items and a separate lid. It's that simple. And, sure, you can place your gift inside, close the lid and wrap it up. But where's the fun, or the challenge in that? So, this is a tutorial on how to wrap a telescoping box as two separate pieces. Make sure to read to the end where I link to the boxes and supplies that we use.
Why wrap the lid and the box separately?
If you don't love wrapping presents, this is not the tutorial for you. It's more work, and more time (a lot more time) to wrap the lid and the box separately. But, in my paper-loving opinion, it can be very satisfying and it extends the life of the box. This is a common theme around the studio. We are keen on creating goods that are long-lasting; we are partial towards things that are versatile and can be used and reused in multiple ways. So, when it comes to gifting, we are big on regifting - the box, that is!
And, on a more personal note, as a lifelong paper aficionado, I distinctly remember movie scenes where someone is given a beautifully wrapped present and there is no ripping of paper, no struggling with ribbon, the lid is simply and gracefully lifted and the contents revealed. Yes, it's made a lasting impression and now I'm going to share that joy with you. So, let's dive in!
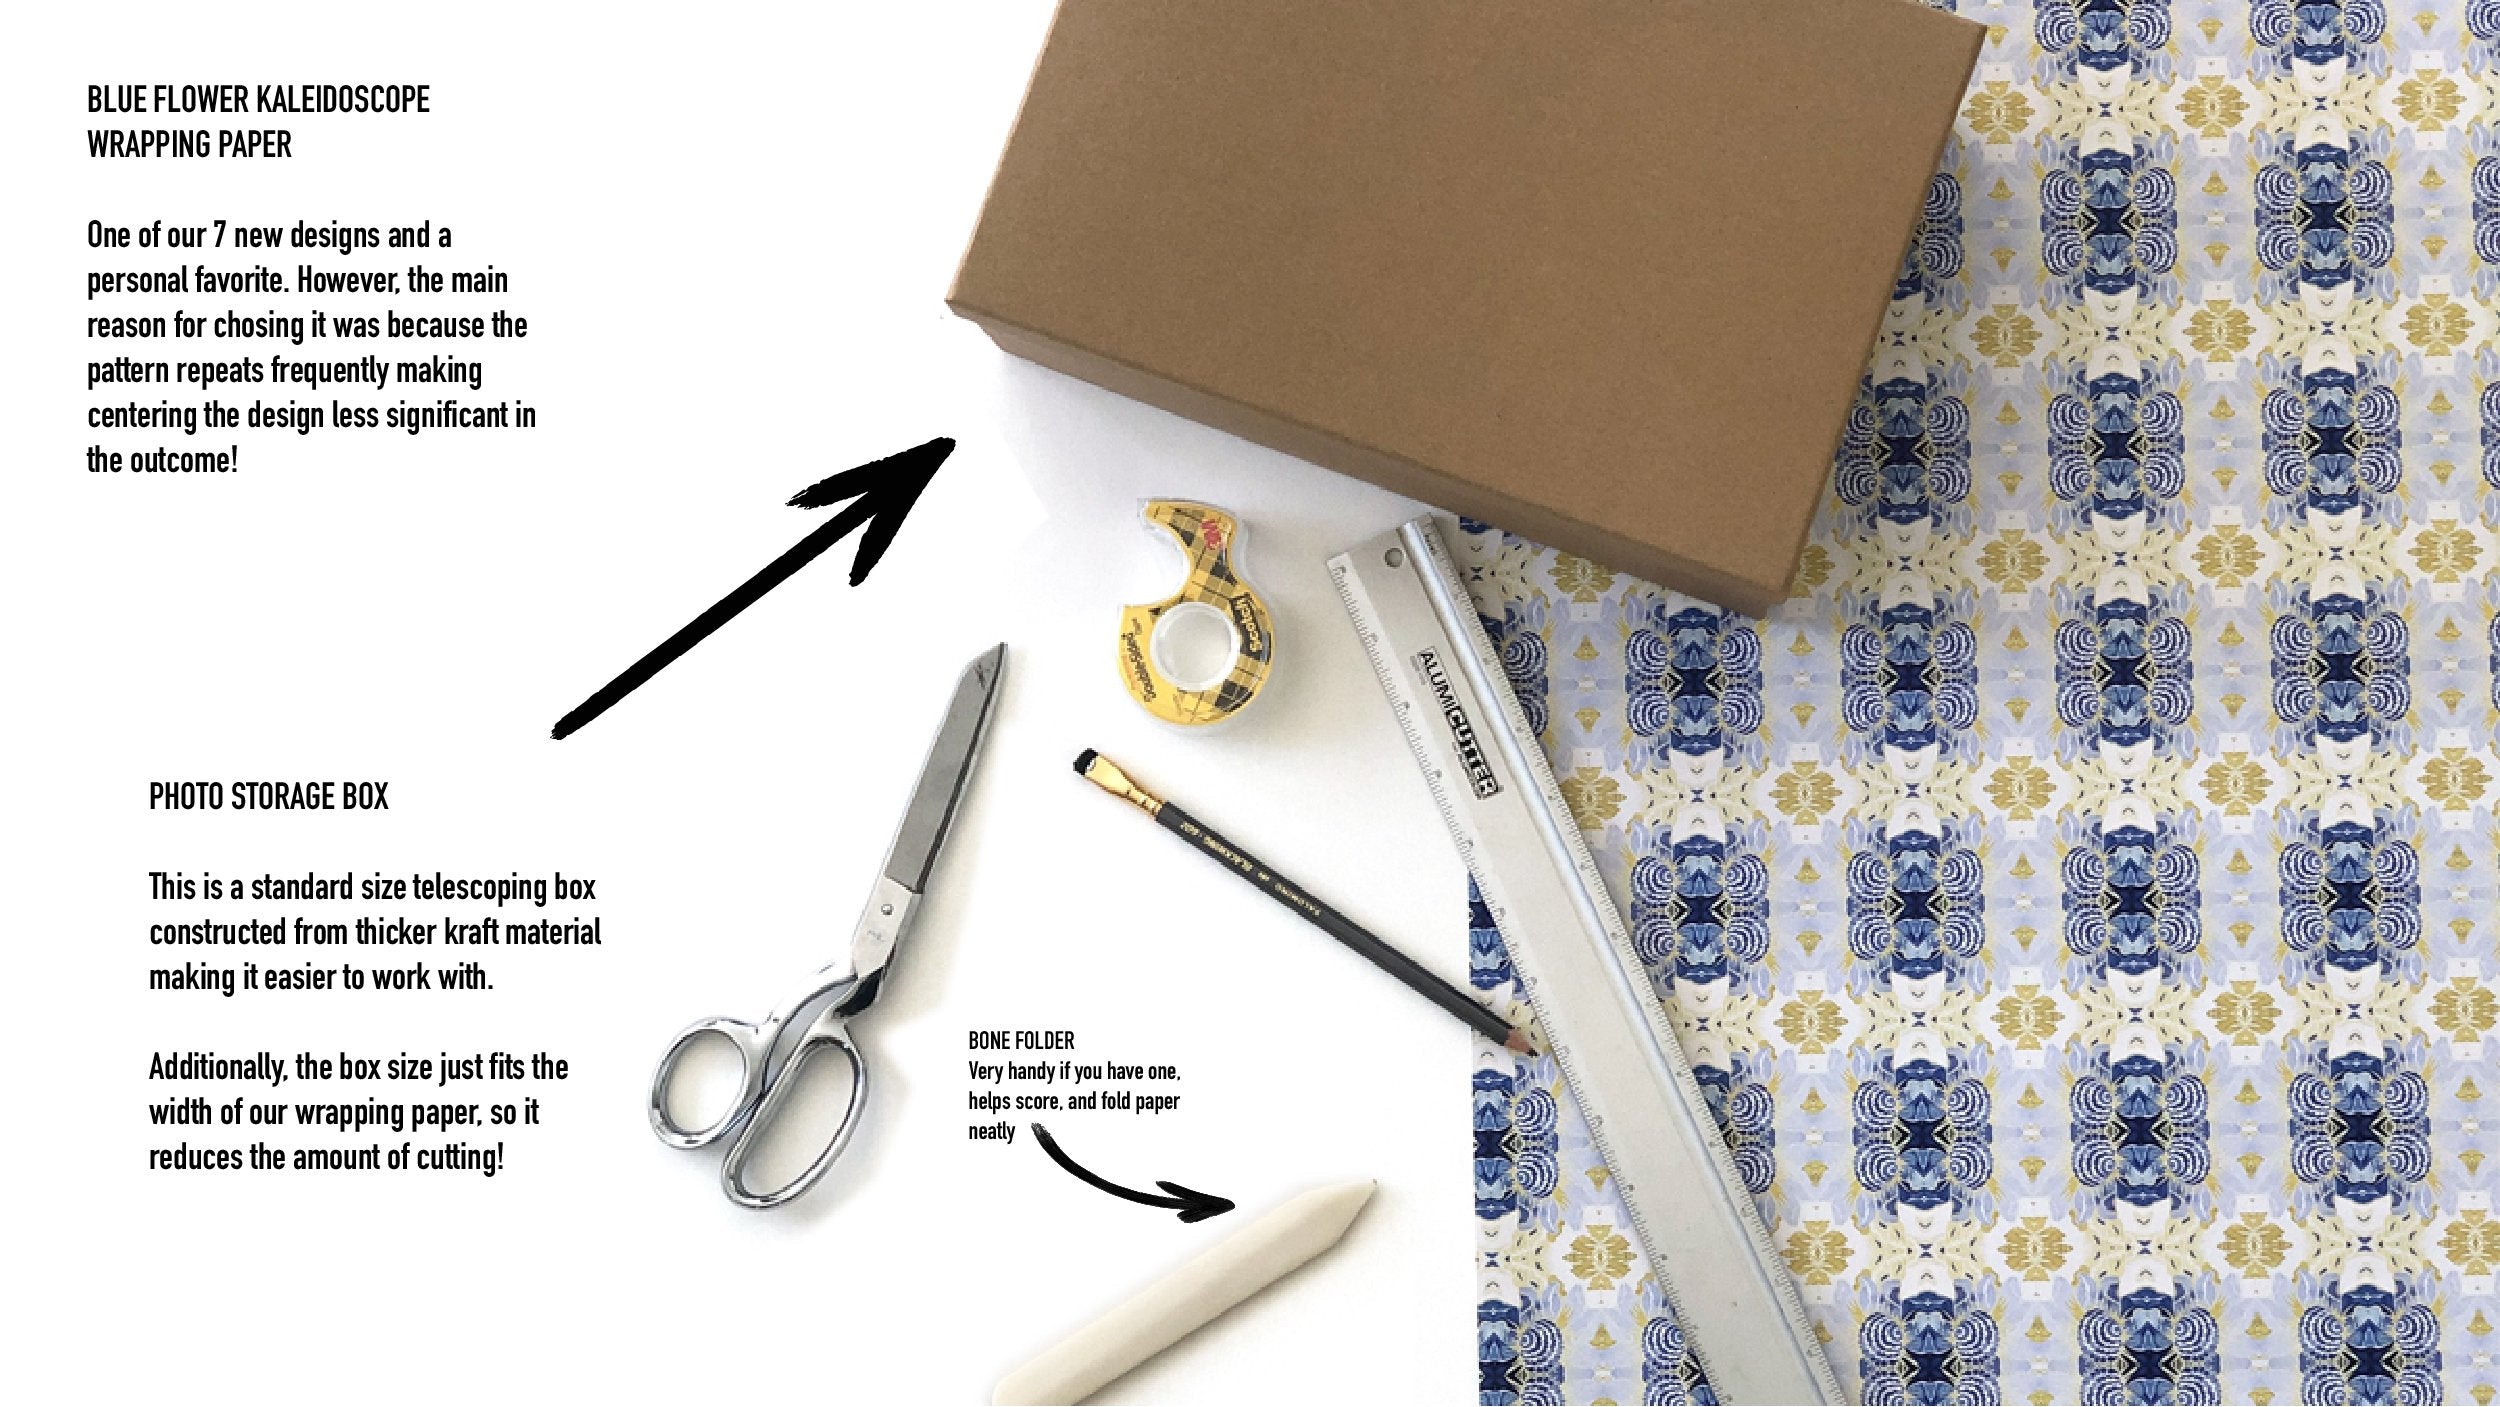
Mise en place
Much like cooking, getting everything in place, and planning your steps makes the process go smoothly! You will need a ruler, a pencil, a decent pair of scissors, and double-stick tape. Yes, double-stick. There's a good amount of effort involved but the last thing we want is the recipient to be aware of the struggle. We are striving for effortlessness, at least in appearance! Double-sided tape will be your best friend.
Marking it up - measure twice, cut once!
And to measure, let's use the box - here are the steps:
1. Remove the box lid and place the box compartment centered on the paper. Give it a look and see how it fits. You will need enough paper to cover the bottom, the side, and approximately an inch to wrap around the edge of the box.
2. Once it looks centered and with enough room around each edge, trace the bottom of the box. Roll the box on its side and trace around each. It should look roughly like this:

- Here come the trickier bits. First, on two opposite sides of the box, the cutting marks need to be extended by about half an inch or so. These sides will wrap around first and the extra paper prevents the edge of the box from being shown.
- Next, we need about an inch added to each side for wrapping around the box edge. Make sense? Well, hopefully, this image will help:


Time to wrap!
- It's time to apply the wrapping paper. Start by putting a good amount of double-stick tape on the bottom of the box - each corner, the center, and perhaps a small piece in the middle of each side. Now place the box on the wrapping paper using your pencil lines as a guide. Turn it over and use either your bone folder or hand to rub across in each direction and make sure it's firmly applied.
- To wrap around the sides, start with the opposing sides that have the extra tab. Again, use plenty of tape along the edges and across the center. Remember when folding the paper against the edge it should extend about an inch beyond for the wrap around. Here you can see where I forgot to snip the excess corner piece - if that happens to you, just snip in place!

- Continue on with the opposite side and finally, the sides that match up against the edge exactly (or pretty close!). Make sure to apply tape right along these edges.
- Now it's time to wrap the edges. I like to fold everything and smooth the edges before applying the tape. This wrapping paper is thick and durable so you can use a little pressure and make nice, crisp creases. Apply plenty of tape, especially to the corners, and then fold around the corners. Voila!

- On to the box lid. Using the remnant of wrapping paper, line up the wrapped box and then place the lid with enough distance between to wrap around the side and over the edge.
- Follow the same procedure to create a cutting outline. Make sure that two sides of the box have extra to wrap around the seam and that all sides have enough to wrap around the edge.
- The box lid can sometimes be trickier because it's a small amount of space to work with. This is where extra double-stick tape is your best friend. Apply liberally and you won't be sorry!
- With your lid ready to go, it's time to put the two together and see how they line up. And if they don't line up perfectly, I think that is ok, too. Part of gift-giving is taking the time to put it all together and I think people both recognize and truly appreciate that!

Put a bow on it!
After all that work, I think a bow is in order. And, actually, ribbon plays a functional role, too! These boxes typically have a tight fit and the ribbon can help someone pull open the box. I tend to only put a ribbon around the lid of the box to distinguish the fact that it is a two-piece box. Use sticky tape to attach a piece of ribbon to either end of the box, from the inside, and then tie the pieces together on top.

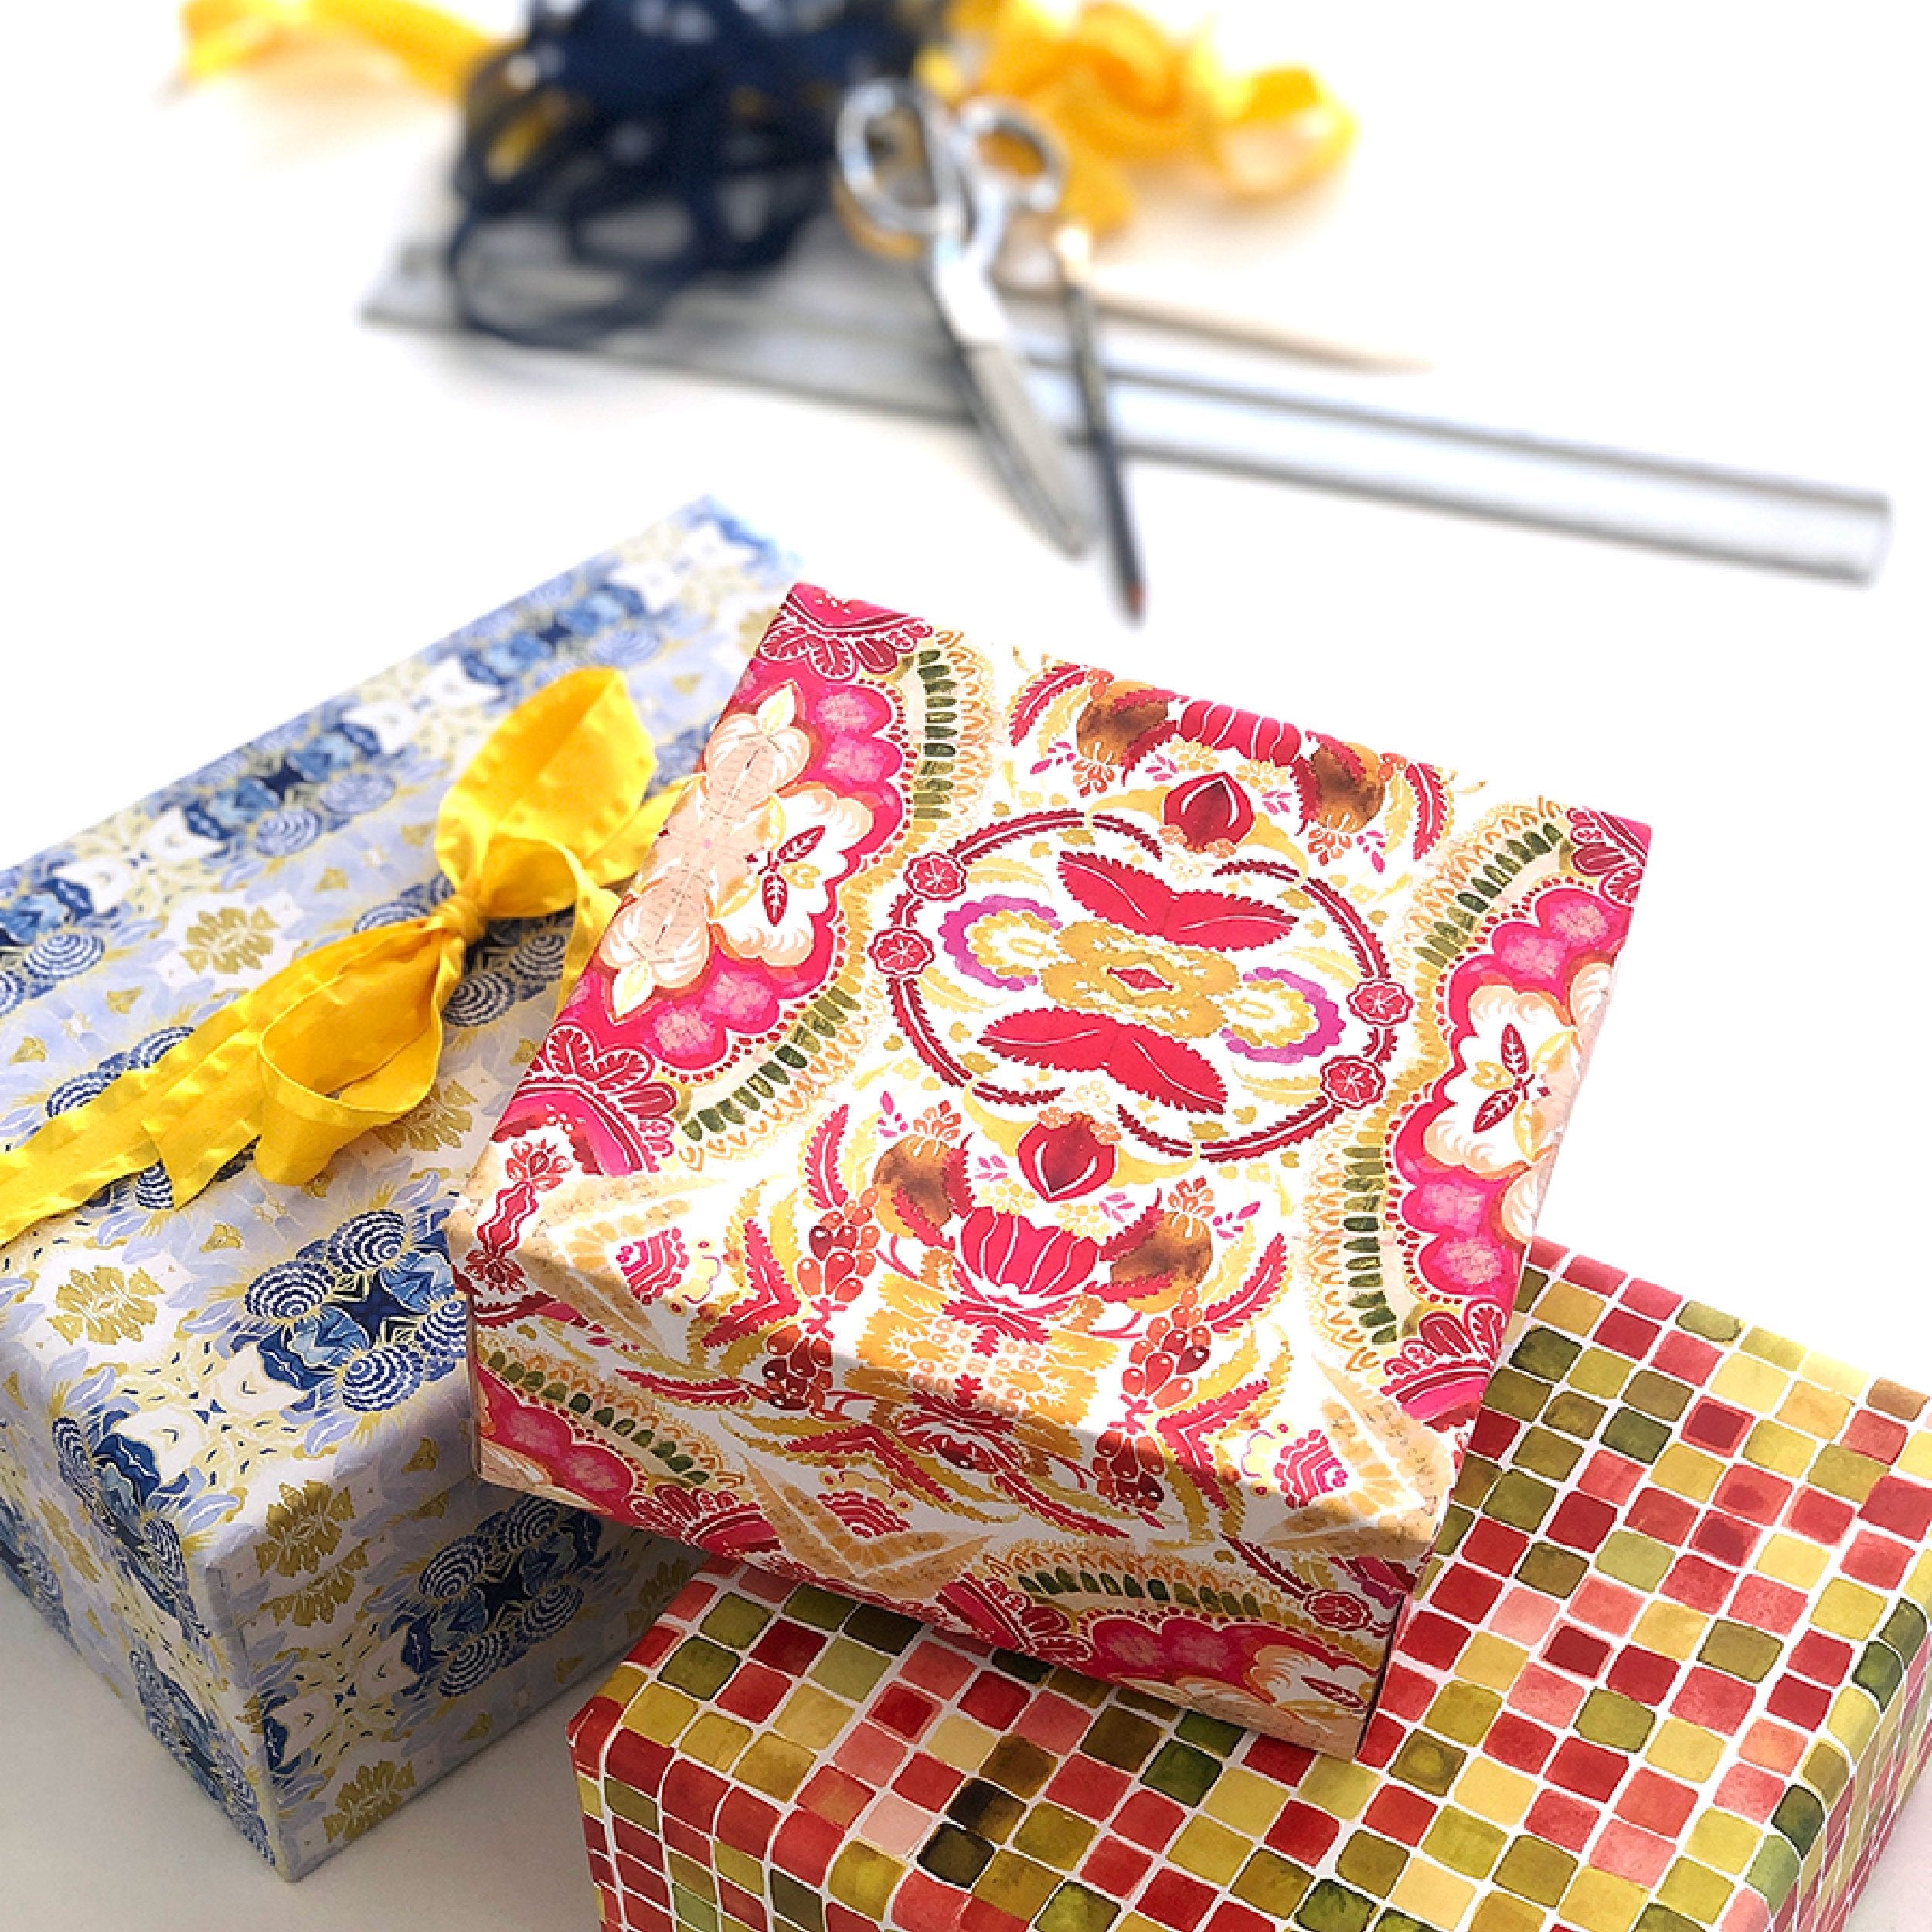
More examples, all perfectly imperfect
I played around with all of our new wrapping papers and am really pleased with the quality. The colors are really strong and accurate to our originals. The paper is nice and thick, providing some structure and durability. It takes a lot of research and sometimes a few mistakes along the way to find manufacturing partners. Most businesses are highly secretive about this but I think there is strength in sharing knowledge and working together. Stationery HQ printed our wrapping paper in a hot second and at top-notch quality.
Here are a few more wrapped telescoping boxes and they're not perfect. But you know, I'm learning to accept and even appreciate the idiosyncrasies.
Reduce by reuse
Throughout the year I save packaging, boxes, and really anything I think can be reused or given to someone else. Again, it's a studio way of being. We save up old coconut water containers, salsa jars, jelly jars, you name it. These become vessels for cut flowers that we gift with our local summer deliveries. All of the cardboard that comes through the studio, and it can add up to a lot, becomes compostable material that fortifies embankments around the driveway, the house, and the garden.
When our new wrapping paper arrived, I dug into my closet and found a few vessels that were just waiting to be wrapped. These are both crazy sturdy packaging boxes that it would be a shame to throw away! Plus these are interesting telescoping boxes in that I think you can wrap only the top and they will look great. So let's test my theory.

As an aside, these W&P porter bowls are the bomb. And the packaging is rock solid. This is your go-to lunch bowl. Honestly, so good. Silicone wrapped ceramic bowl, lid that has a wrap-around closure. Forget whatever tupperware you have, these will make you want to bring lunch to work.
And the small box is not too shabby either - it previously held a candle from Italic. If you're not familiar, check them out. Retail is an ever-evolving beast and I'm always interested in how, where, and why it is shifting. But now back to wrapping boxes!

Here is the finished box. This box had a particularly tight fit, so I attached a ribbon to the base of the box so that it can be opened more readily. I did not want to cover the design of the top of the box which I got relatively centered this time!

Have fun with it! Final tips & tricks
Here is a larger box that I wrapped with our Stars & Stripes pattern. In order to have the stripes all vertical, I simply wrapped around the edges of the box with the paper aligned at the bottom (the bottom is not wrapped). I cut the paper so that I would have extra room at the top to wrap around the edge. The red ribbon works both as a decorative element on the box lid and to cover up any imperfections!
For our playful yellow & orange Stripes pattern, I had fun with scale adding a big and bold ribbon to a small box. See what I mean, no rules, just have fun and experiment!

Resources
The boxes used in this tutorial can commonly be found at the big-box chain stores - Michaels, Hobby Lobby, and, of course, Amazon. While I would prefer to shop at a local craft store, it's not always possible based on your location. For the purposes of this post, I am linking to the national chains.


If you are going to wrap multiple boxes, save money on a value pack of double-sided tape. It's worth it and makes the finished product much cleaner. The bone-folder is not a necessity but I found them useful for all sorts of paper-related tasks.
That's a wrap!
Thanks for reading and let me know how your wrapping projects go! Please tag @isacattostudio if you try out our new wrapping paper designs - Find them all here.